Let's now take a white car and make it black. You really have to use your imagination when making these drastic corrections. Making a white car black when there is so little information available is a challenge. Just as in the previous example, let's start by making a mask or selection of all the colored areas we wish to change and saving that selection. Our new image with the white parts selected is shown in Figure 3-59.
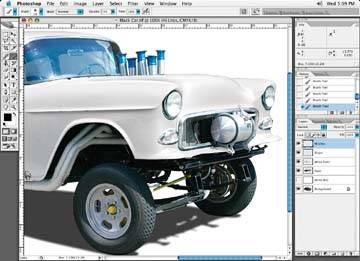
Figure 3-58. The final look of the now-white car
When changing a white car to a darker color, it isn't necessary to mask the individual elements of the car, hood, doors, etc., because the door gaps, jams, and join lines will be enhanced when the correction is made. (Unlike when changing a black car to white, where they would have become lost with the correction to white and become far too light.) Use the Channel Mixer to create information on the black channel, as shown in Figure 3-60.
Figure 3-59. Select the white parts of the car to be turned black

Figure 3-60. Use the Channel Mixer dialog box setup to create information into the black channel
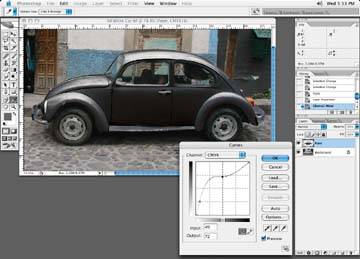
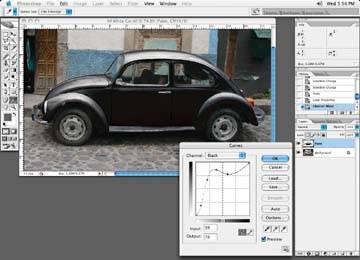
Figure 3-61. Make a Curve adjustment to the image after the Channel Mixer
When I refer to a curve as a crazy curve, it's just my way for describing a curve that may have many points to it that are moved in such a way that the curve looks no longer looks like a curve, but a crazy-looking squiggly line that really can't be called a curve anymore. A rather unorthodox looking curve.
As before, we'll copy the selection of the white body of the car and paste it to a new layer. Now apply a crazy curves designed for the white-to-black conversion. Figure 3-61 shows what the curve looks like.
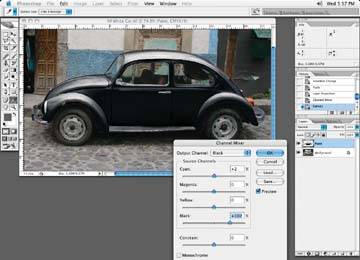
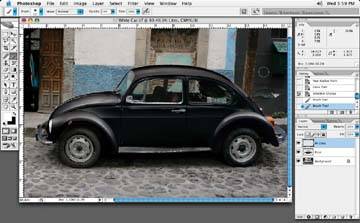
The car is getting there, but it is a little green looking, so I'll make an addition change with the Channel Mixer to swing the color to a neutral black. Figure 3-62 shows our white car now black. Take a very close look at the final change, and make sure you haven't missed any spots on the car. With a drastic color change like this to an object, it is critical that you don't miss any spots, as they will show up clearly because the color is so different.
Figure 3-62. Neutralize the black color of the car with a Channel Mixer adjustment
To finish, set a highlight layer (set to Normal) to create highlights on the car as you did to the white car. Figure 3-63 shows our white car is now black.
Figure 3-63. The car is now complete
Turning an object from white to black or vice versa is an extreme case, and typically a correction will fall somewhere in between these two colors. These same techniques can be applied to any color you wish to use. If you wish to change the color of the object to, say, a red or blue, take or create a black car, if it isn't black already, and use the Channel Mixer tool to make up any other color you wish to make the object. Just be sure and watch to make sure that you do not add too much color to the highlights and the various shapes in the object to the