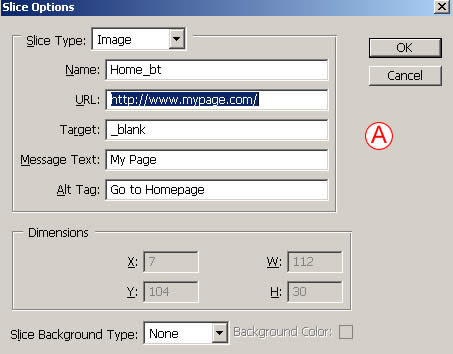
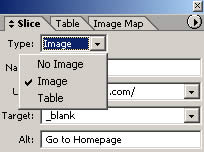
Slice Type
Leave Slice Type set to Image if a slice contains an image you want to display. Change Slice Type to No Image to leave a sliced area blank. No Image is a good choice for auto slices that have no important image content and for areas to which you plan to add HTML text.
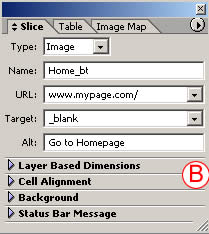
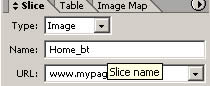
Name
Enter a meaningful name, without spaces or odd characters, for the slice and the image file it will produce. Otherwise, the program automatically generates a complex name.
URL
To add a link from a slice to an external Web site, type the entire URL of that site here. Links to pages in the same site are easier to add later in a site-building program.

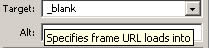
Target
Use the Target field to control how the browser window behaves. Enter _blank to open a linked-to page in another browser window so viewers aren't drawn away from your site. The other choices are used with frames and are best added in a site-building program.
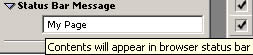
Message Text
The content of this field appears in the status bar at the bottom of a Web browser when a viewer mouses over the sliced area. Use it to offer extra information to viewers.
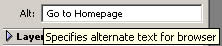
Alt Tag
Use Alt Tag to add identifying information to an Image slice for non-sighted visitors.
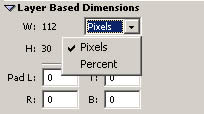
Dimensions
These settings add file dimensions to the HTML code. They're available only for user slices.
Slice Background Type
Use this field to add a color behind a No Image slice or a transparent GIF.
