These DataSource controls abstract the entire connection and command mechanism so that all you need to do is decide on a data source, point the control there, and invent a query. Visual Studio provides a wizard that guides you through this. Once you have a DataSource, you may attach it to a databound control that uses it.
Let's take a look at making a query and populating some controls with the results of the query.
Use a DataSource to Populate Controls in DataReader Mode
-
Add a new form to DataBindingORama named DataBindingWithDB.
-
Set up an accessor for the database. Go to the Data controls in the toolbox. Drag an AccessDataSource onto the form. Select Configure Data Source… from the local menu displayed by Visual Studio. Click Browse in the Configure Data Source dialog box. You'll see a directory named App_Data in the list box on the left side. Highlight it. Then select ASPStepByStep.mdb from the list box on the right side. This will insert an Access database accessor into your project. Configure the data accessor to use the AspDotNetStepByStep database that comes with this tutorial.

-
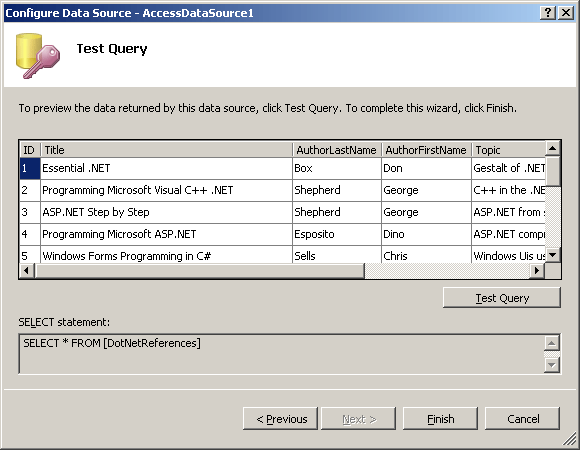
Select all the columns and all the rows from the DotNetReferences table when configuring the query (that is, choose "*" to query for all the columns).

-
Test the query if you want to by clicking the Test Query button.
-
Set the DataSourceMode property to DataReader.
-
Now drag a ListBox onto the page. Set the AutoPostback property to true. Handle the Page_Load method by attaching the ListBox DataSource to the AccessDataSource1 like so:
protected void Page_Load(object sender, EventArgs e) { if (!this.IsPostBack) { this.ListBox1.DataSource = this.AccessDataSource1; this.ListBox1.DataTextField = "AuthorLastName"; this.ListBox1.DataValueField = "Title"; this.ListBox1.DataBind(); } } -
Put a label near the bottom of the page. This label will hold the selected value from the combo box.
-
Double-click on ListBox1 to handle the item changed event. In the event handler, set the Label1 text property to the value field of the selected item.
protected void RadioButtonList1_SelectedIndexChanged(object sender, EventArgs e) { this.Label1.Text = this.RadioButtonList1.SelectedItem.Value; } -
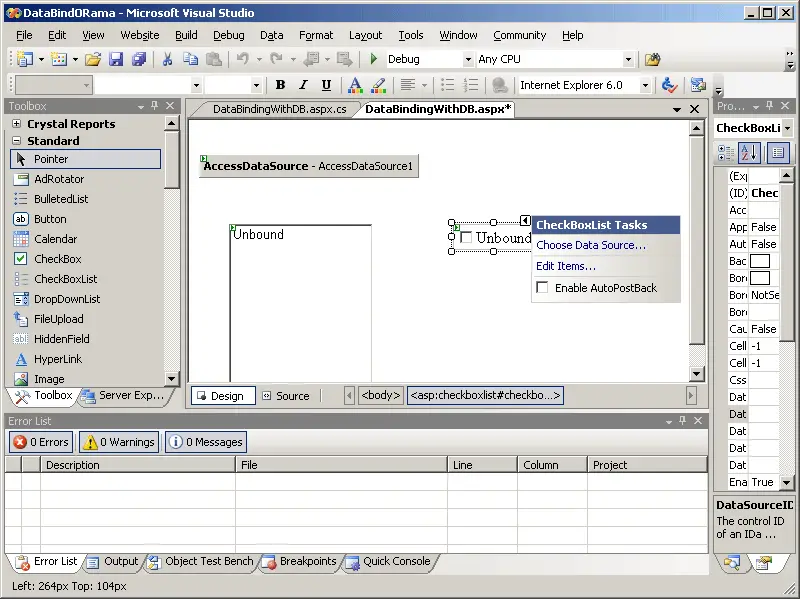
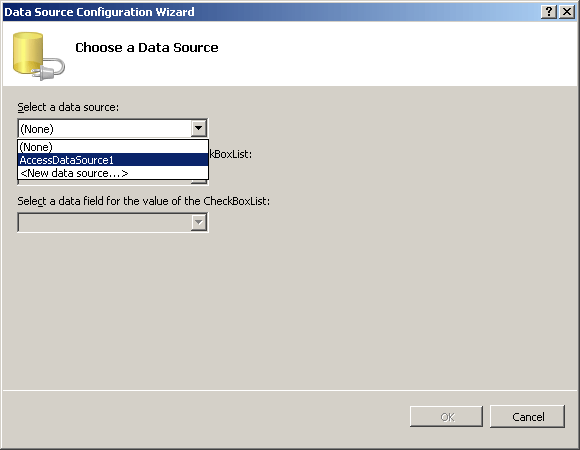
Now drag a RadioButtonList onto the form. When you finish dropping it on the form, Visual Studio will ask you if you want to choose a data source. Click Choose Data Source….
-
Configure the control to use AccessDataSource1 that you just added.
-
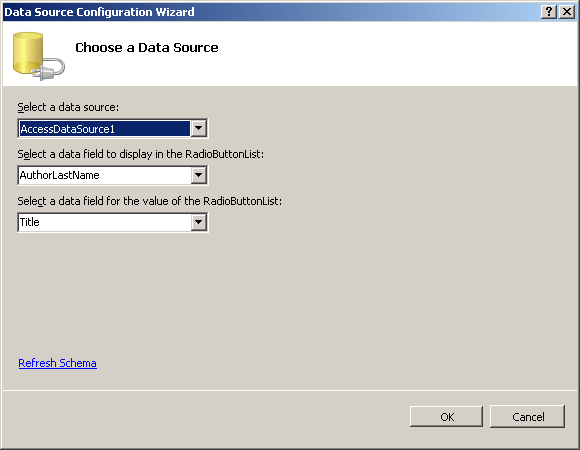
Configure the control to use the AuthorLastName column for the text field and the Title column for the value field.
-
Double-click on the RadioButtonList1 object on the form to create a handler for the radio button selection. Handle the selection by updating the Label1 object with the value associated with the current radio button selection.
protected void RadioButtonList1_SelectedIndexChanged(object sender, EventArgs e) { this.Label1.Text = this.RadioButtonList1.SelectedItem.Value; } -
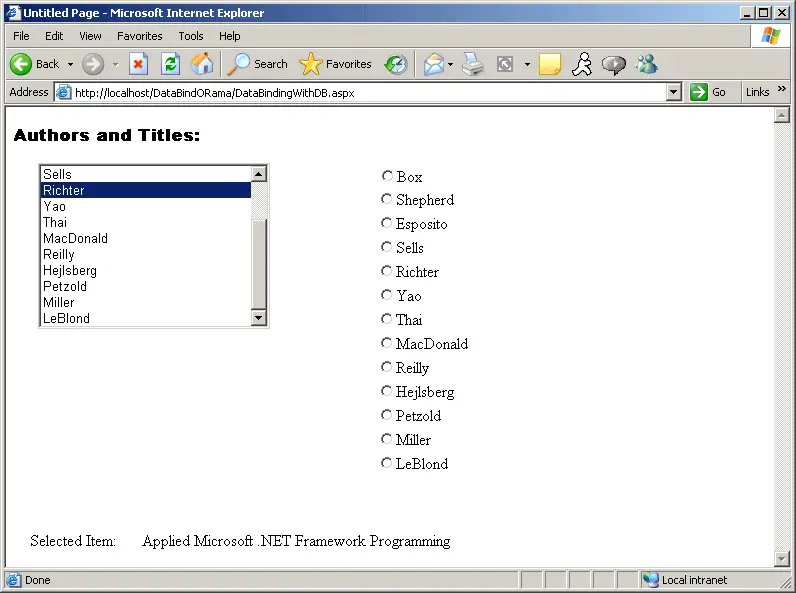
Now run the program. The ListBox and the RadioButton list should show the AuthorLastName field. Selecting one name out of either list will cause a post back and show the title (the associated value) in the label near the bottom of the page.
Now we've had a taste of how binding to the simple controls works. While using these controls is common in many scenarios, the databound controls don't end there. ASP.NET includes other more complex controls that render data such as complex UI elements as grids and control constellations.