The following example shows how to use some of the databound controls by hooking up an ArrayList to several of the ListControl-based controls.
Databinding with an ArrayList
-
Start a new Web site named DataBindORama.
-
From the Web site menu, select Add New Item… and add a class named TechnologyDescriptor. Add two member variables to the class: String types named _strTechnologyName and _strDescription. This class will represent a technology name and an accompanying description. Expose these two member variables as public properties.
IMPORTANT
Exposing the member variables as properties is important so the controls will work correctly with databinding. When a control binds to a collection composed of classes, it will look for the fields to expose via their property names. Using the databinding controls, you may specify a "display name" (that is, the value that will appear in the control), and you may specify a second "hidden" value to be associated with the item that was selected. In the case of rendering collections of managed objects, the binding architecture depends upon these fields being exposed as properties.Listing 11-1 shows the TechnologyDescriptor that exposes a technology name and description as properties.
Listing 11-1
public class TechnologyDescriptor { protected String _strTechnologyName; protected String _strDescription; public String TechnologyName { get { return this._strTechnologyName; } set { this._strTechnologyName = value; } } public String Description { get { return this._strDescription; } set { this._strDescription = value; } } public TechnologyDescriptor(String strTechnologyName, String strDescription) { this._strTechnologyName = strTechnologyName; this._strDescription = strDescription; } } -
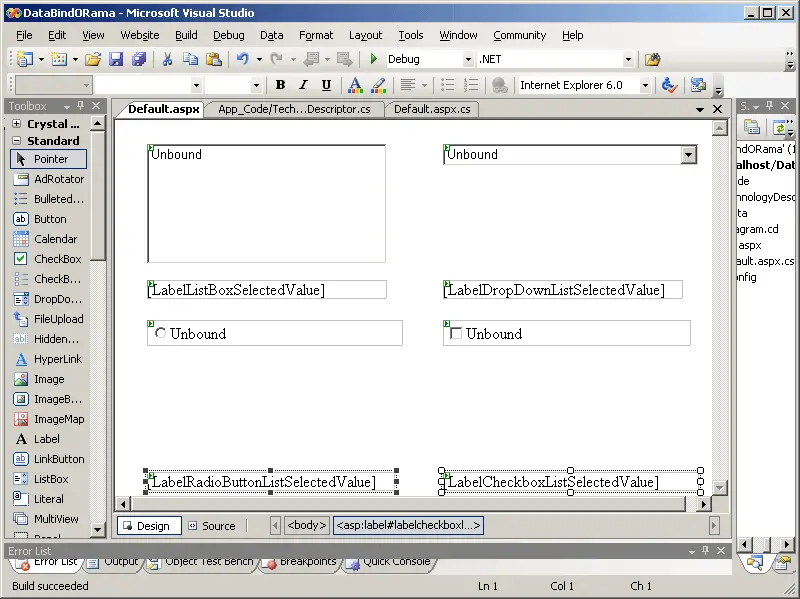
After developing the TechnologyDescriptor class, add four databound controls to the default page: a ListBox, a DropDownList, a RadioButtonList, and a CheckBoxList.
-
Underneath each of these controls, place a Label. The label will be used to show the value associated with each selected item.
-
Set the AutoPostBack property for the ListBox, the DropDownList, the RadioButtonList, and the CheckBoxList to true. That way, selecting an item in each of the controls will cause a post back during which the selected item may be interrogated.
-
Now update the page to build a list of TechnologyDescriptors and to attach the collection of TechnologyDescriptors for each control. For each control, set the DataTextField property to "TechnologyName" (to map it to the TechnologyDescriptor's TechnologyName property). This will ensure that the technology name will appear in the control. Then set the DataValueField for each control to "Description" to map the Description property to be the associated value. Listing 11-2 shows creating a collection of TechnologyDescriptors and attaching the collection to each of the controls.
-
Add selection handlers for each of the controls (by double-clicking them). Upon receiving the selection events, interrogate the control for the selected item's value. Listing 11-2 also shows the handlers.
Listing 11-2
protected void Page_Load(object sender, EventArgs e) { Ilist techList = CreateTechnologyList(); if (!this.IsPostBack) { this.ListBox1.DataSource = techList; this.ListBox1.DataTextField = "TechnologyName"; this.DropDownList1.DataSource = techList; this.DropDownList1.DataTextField = "TechnologyName"; this.RadioButtonList1.DataSource = techList; this.RadioButtonList1.DataTextField = "TechnologyName"; this.CheckBoxList1.DataSource = techList; this.CheckBoxList1.DataTextField = "TechnologyName"; this.DataBind(); } } protected Ilist CreateTechnologyList() { ArrayList alTechnologies = new ArrayList(); TechnologyDescriptor technologyDescriptor; technologyDescriptor = new TechnologyDescriptor("ASP.NET", "Handle HTTP Requests"); alTechnologies.Add(technologyDescriptor); technologyDescriptor = new TechnologyDescriptor("Windows Forms", "Local Client UI technology"); alTechnologies.Add(technologyDescriptor); technologyDescriptor = new TechnologyDescriptor("ADO.NET", "Talk to the database"); alTechnologies.Add(technologyDescriptor); technologyDescriptor = new TechnologyDescriptor(".NET CLR", "Modern runtime environment for managed code"); alTechnologies.Add(technologyDescriptor); technologyDescriptor = new TechnologyDescriptor(".NET IL", "Intermediary representation for .NET applications"); alTechnologies.Add(technologyDescriptor); technologyDescriptor = new TechnologyDescriptor(".NET Compact Framework", "Modern runtime environment for small devices"); alTechnologies.Add(technologyDescriptor); return alTechnologies; } protected void ListBox1_SelectedIndexChanged(object sender, EventArgs e) { this.LabelListBoxSelectedValue.Text = this.ListBox1.SelectedValue; } protected void DropDownList1_SelectedIndexChanged(object sender, EventArgs e) { this.LabelDropDownListSelectedValue.Text = this.DropDownList1.SelectedValue; } protected void RadioButtonList1_SelectedIndexChanged(object sender, EventArgs e) { this.LabelRadioButtonListSelectedValue.Text = this.RadioButtonList1.SelectedValue; } protected void CheckBoxList1_SelectedIndexChanged(object sender, EventArgs e) { this.LabelCheckboxListSelectedValue.Text = this.CheckBoxList1.SelectedValue; } -
Compile the site and browse to the page.
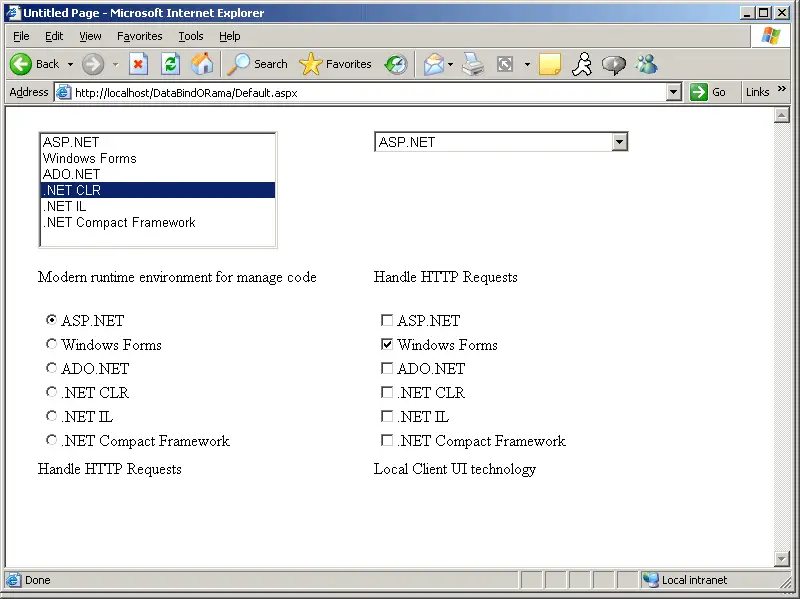
In the above example, selecting one of the items within the databound controls will reveal the related value in the label beneath the control.
In certain programming situations, you may find yourself doing this kind of databinding. For example, simple collections such as states within the United States or short lists (perhaps of employee or contact names) work great with these ListControl-based controls. However, very often you'll find yourself dealing with data in a more complex format-beyond simply an ArrayList. A number of controls can deal with more complex DataSets. However, we first need to look at ADO.NET because it provides the easiest way to reach these more complex data compositions.