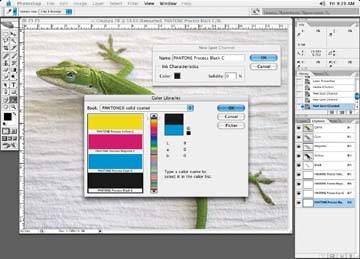
Let's change the four CMYK channels to four specials. Start by going into the Channels palette and creating four new spot channels. Follow the same process described earlier for creating a new spot channel, only do it four times! When you have added your new channels, your Channels palette should look like Figure 5-20.
Figure 5-20. Create four spot channels
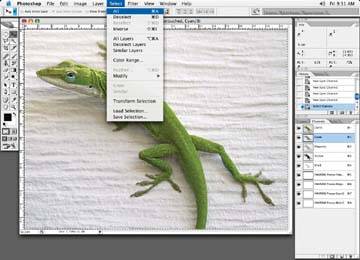
Click on each of the CMYK channels until they are all highlighted. Then do Select All, copy each CMYK channel, and paste it into a new spot channel, as illustrated in Figure 5-21. In this case, I started with my cyan channel and worked my way through the process channels, repeating this process for each CMYK channel.
Figure 5-21. Create four spot channels, clicking on the black channel to copy it
Once you have completed this process, you will have four new spot channels and four CMYK channels. In Figure 5-22, I've gone through the process of deleting the information left in the four process colors, as it is no longer needed.
Delete the CMYK channels by clicking on them and dragging them to the trash can on the bottom-right side of the Channels palette.
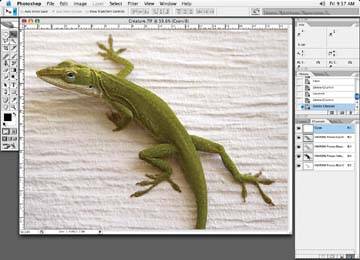
When you're done, you have an image converted completely into special colors (Figure 5-23). This process is typically used for packaging or special carton work.
Figure 5-22. Clear all the current information in the CMYK channels
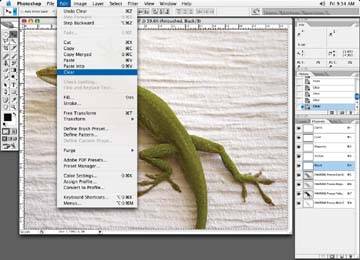
Figure 5-23. The final look of new spots
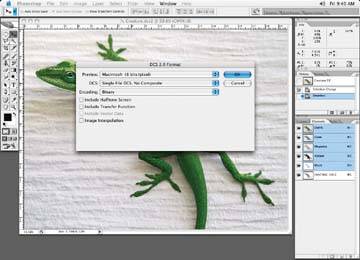
When you're done, save the file as .dcs2 file with the Binary option. Some workflows may not support the ASCII option (Figure 5-24).
Figure 5-24. Save the image as a .dcs2 file with the binary option