Let's start with a few basic philosophies for making corrections. (Note that many of these techniques apply to much more than color corrections.)
Using Layers to Make Corrections
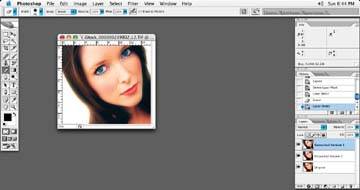
The first thing I like to do when I make corrections is make a duplicate layer of the original image and assign the date or a descriptive name for the layer, such as "Color Correction." That way, there is no confusion as to when your work was done and what the layer is. This is especially helpful if you have many layers in your file. I find there is nothing worse than calling a layer its default name, like "Layer 0:"; this doesn't tell anyone anything about the layer. Another reason I make a copy of the layer is because if the client wants to go back to the original for any reason, I have it.
One more good reason for duplicating a layer is because it can be very easy to alter a change I have made to the image. If I have made a color change and the client finds that I haven't gone far enough with the change (or I have gone too far with the change), I can simply change the opacity of the corrected layer to get me where I want to go without having to start all over. It is very common for client to ask if I can go somewhere halfway in between two changes, if I have a layer with the change I have made, it is a simple matter of adjusting the opacity of the layer. A simple click on the layer opacity to 50%, and I'm halfway there! A very handy way to make quick adjustments.
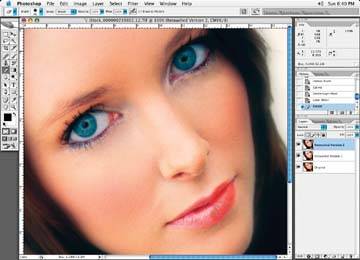
Using layers to make multiple color changes to an image allows for easy adjustments to clients' requests
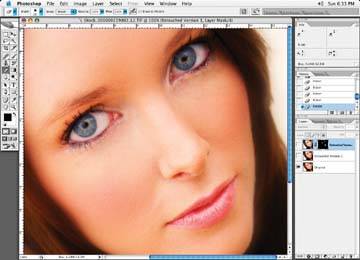
I may make adjustments to part of an image this way as well. Let's suppose the client loves the color change to one part of the image, but wants to go back to the original in another area of the image. I'd use a mask, a Pen tool created selection, a Lasso tool selection, or my Erase brush to eliminate what I don't want changed on my color-adjusted layer, as in following figure. A layer mask would work well in this situation as well.
Erase part of an image from a layer to let the bottom one show through
Correction Changes
Be careful not to overdo corrections. I can't count how many times I've seen corrections that have gone way too far and ended up looking unrealistic. Look at the front covers of magazines at the food store checkout shelves, and you can spot the overly white teeth, whites of eyes over corrected, the color of eyes emphasized beyond anything that exists in nature, and so on. Remember: the idea is to make corrections look as though the image has not been retouched. (I realize that some of these corrections are out of the retouchers' control if the client's wishes have been carried out as directed.)
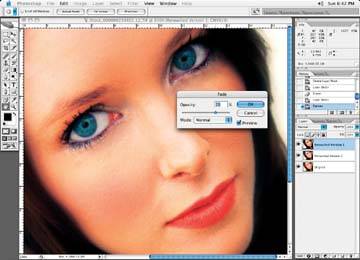
One good option after a correction is made is to make use of the Fade (Apple/Option+F) command. The Fade command will allow you to adjust the intensity of a correction just after you make it. I have found this to be useful especially if you have a client who can't decide how far to go with a change. At least this way you can move the slider back and forth until you get an OK to the change without having to keep going back into a correction mode. The Fade dialog box is shown in following figure.
Note: One thing to keep in mind, if you are changing many images that require the exact same change, short of running a batch file, is to hold down the Option key while calling up your last color-correction adjustment. The last adjustment will be recalled when you hold down the Option key pretty handy when doing many images that require the same correction.
The Fade command dialog box
It is helpful to reduce the viewing size of the image you're correcting on screen so that you're looking at a size similar to the actual print size. Obviously, the size of your screen will dictate how large you can view an image on screen, but this gives a much better idea of how changes affect the image. It's easy enough to see changes at a very large size, but as dramatic as some of these changes may look when blown up on screen, their effect is usually greatly reduced when you see final output from a printer. Having said that, when I make a change at a small size on screen, I will check the image at a larger screen size to make sure the change I have made is as desired, and that nothing unexpected has happened.
View the image in actual size to get full effect or lack thereof