If you're familiar with Cascading Style Sheets (CSS), you will feel very at home with Themes. The two techniques are similar because through both techniques you may define the visual styles for your Web pages. Themes go a step beyond Cascading Style Sheets. You may use Themes to specify styles, graphics, and even CSS files within the pages of your applications. When available, you may apply ASP.NET Themes at the application, page, or server control level.
Themes are represented as text-based style definitions in ASP.NET 2.0. ASP.NET 2.0 already includes a number of Themes straight out of the box. You'll find these Themes located at C:\WINDOWS\Microsoft.NET\Framework\v2.0.xxxxx\ASP.NETClientFiles\Themes. ASP.NET 2.0 includes some predefined Themes. In addition, you may define and use your own Themes.
The following exercise shows how to create and use a Theme.
Creating and Using a Theme
-
Add a new form to the MasterPagesSite project. Name the page UseThemes.aspx. Turn off the Select master page check box if it happens to be turned on before you commit to creating the page.
-
Add a Theme folder to your project. Highlight the Web site node in the Solution Explorer. Right-click and select Add Folder. Select Theme Folder. This will create an App_Themes directory for you.
-
Create a Default Themes folder under the App_Themes folder. Right-click on the App_Theme folder. Select Add Folder, and then select Theme Folder from the menu. Name the folder Default.
-
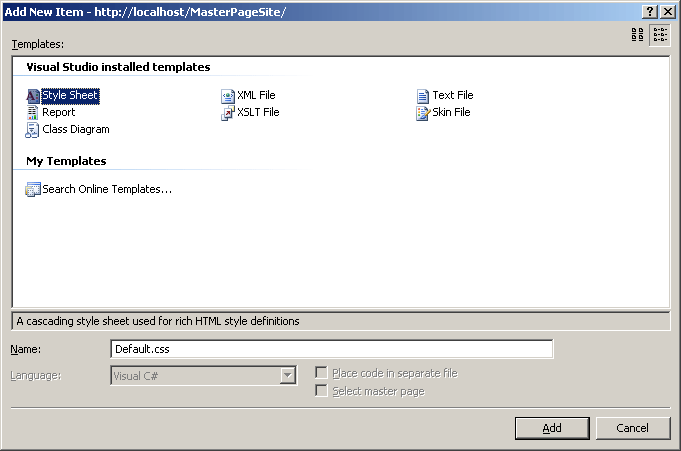
Add a new Style sheet to the Default Themes folder. Right-click on the Default Themes folder and select Add New Item. Select the Style Sheet template. Name the Style sheet Default.css.
-
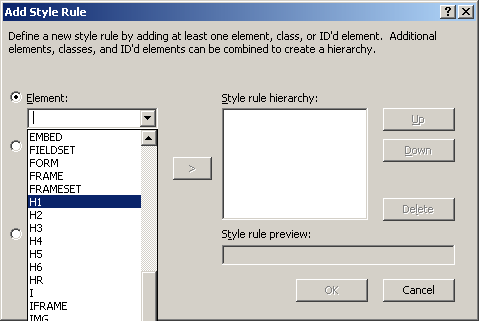
Build the style sheet. When the style sheet is open in Visual Studio, you may right-click on the Elements node to modify the style for the node. For example, if you want to change the style of the <H1> tag, you would right-click on the Elements node and select Add Style Rule. To change the style of the <H1> tag, select it from the list of elements and move it into the Style rule hierarchy by clicking the > button, as shown here:
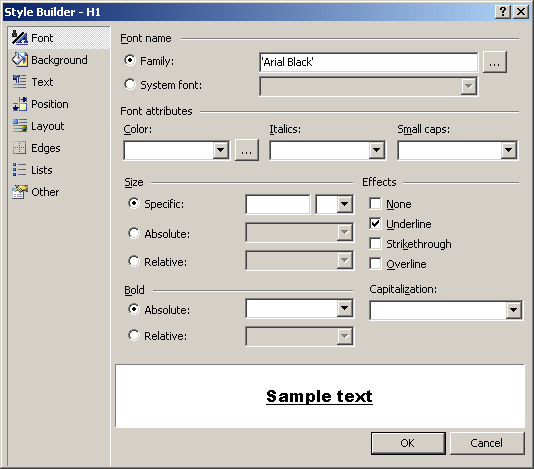
To modify the style, right-click on the H1 node in the CSS outline page and select Build Style. Here's the Style Builder dialog box:
-
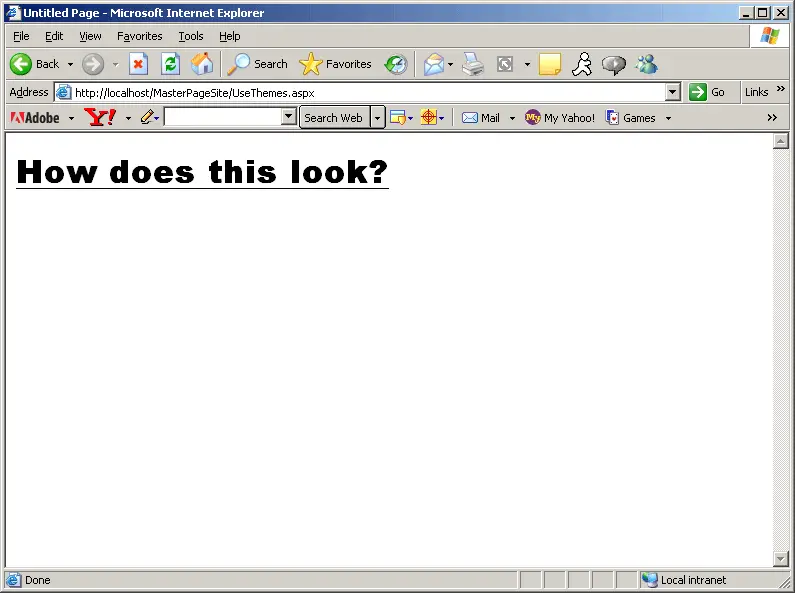
Now test the Theme by declaring it in the page and by typing a heading with H1 tags, like so:
<%@ Page Language="C#" AutoEventWireup="true"
CodeFile="UseThemes.aspx.cs

"Theme=<Default"
trace="false" Inherits="UseThemes" %>
<%@ Register Src="Banner.ascx" TagName="Banner" TagPrefix="uc1" %>

<!DOCTYPE html PUBLIC "-//W3C//DTD XHTML 1.1//EN"
"http://www.w3.org/TR/xhtml11/DTD/xhtml11.dtd">

<html xmlns="http://www.w3.org/1999/xhtml">
<head runat="server">
    <title>Untitled Page</title>
</head>
<body>
    <form id="form1" runat="server">
    <div>
    <H1> How does this look? </H1>
    </div>
    </form>
</body>
</html>
Here's how the Themed page appears in the browser with the new theme (the H1 Tag set to the new font and set to use the underscore in this example):
-
Add another Theme to the project. Name the Theme SeeingRed. That is, create a new Theme folder and add a new style sheet of the same name. Make the <H1> tag use a red color font this time. Then change the Theme used by the page to SeeingRed:
Theme="SeeingRed"
Surf to the page to see the <H1> tag printed in red.
This is just a taste of the kinds of things you can do by providing Themes for a page. Once a Theme is defined, you may apply it by declaring it as part of the Page declaration, or by intercepting the PreInit event and changing the Theme property in the page to a valid Theme.
Going hand in hand with Themes are Skins. Let's look at those.