Another way to add texture to an image would be to go into the individual color channels and pinpoint each color on the curve and adjust them individually for maximum shape. For instance, the cyan channel may have more shape than the other color channels, and therefore, you may want to change the cyan channel without changing the other channels, as long as this doesn't affect the overall color balance of the image. The black channel is usually a good starting point because it will not change the overall hue of your image, just its density and shape.
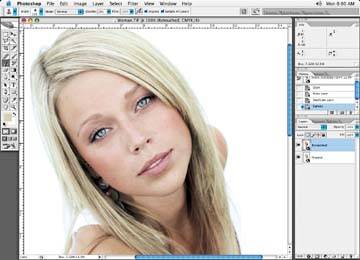
Take Figure 3-14, for example. If you go to an individual color channel in the Curves adjustment tool and click on an area of the image, a little point will show up on the curve adjustment line to show you where the color value is on the particular color curve (Figure 3-15).
Figure 3-14. Another image lacking shape and texture
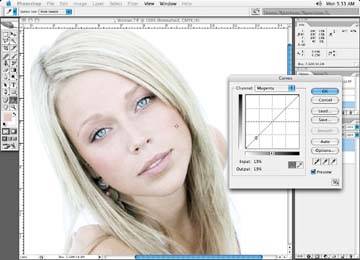
Figure 3-15. Pinpointing points on the magenta curve adjustment line by clicking on the desired image area with the Eyedropper tool to take a reading of the color in that area
Now you can click on the curve adjustment line where the pinpoints showed up and create curve adjustment markers. These curve adjustment markers are the points you move on the curve to make adjustments. First, have a look at your image and decide which areas need help. Start by selecting one of the color channels in the Curve adjustment tool. If there is an area of the image you don't wish to change, move your Eyedropper tool over that area, click and take a reading of the area, and note where that area is on the curve. As you click your mouse or pen button, the exact position of where that color falls will be shown on the curve line.
Pinpoint that spot on the curve line and place a lock or adjustment point there by clicking on it as described above. Then go to the area that needs a boost in color, take a reading of that area, pinpoint it on the curve, and place an adjustment point on that spot. You may want to do this several times until you have points selected on the curve surrounding the problem area. You now have all the points you need to work with (Figure 3-16).
Simply move the pinpoint adjustments around until you achieve the desired look (Figure 3-17). Repeat this process for each color involved. Be sure to keep the colors in balance so that the actual hue of the color doesn't change. If the color is a brown, keep it brownjust make it a lighter or darker shade of the same brown.
Figure 3-16. Curve adjustment line with point selected on it
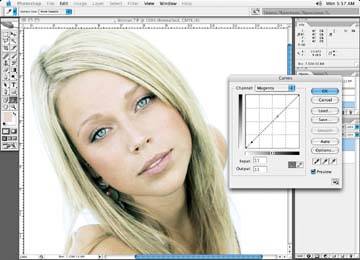
Figure 3-17. The result of pinpointing on the cyan channel; repeat this process for each channel