We'll use this hammer to show a range of motions
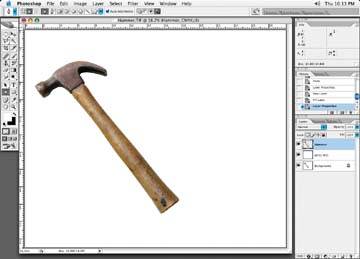
First, isolate the item to which you wish to add motion; in this case, select the hammer so that it is a separate element. Once you have it isolated, paste the hammer on to a new layer, and duplicate this layer depending on how many steps you would like to have. In this case, there will be three steps, so I'll make three duplicate layers.
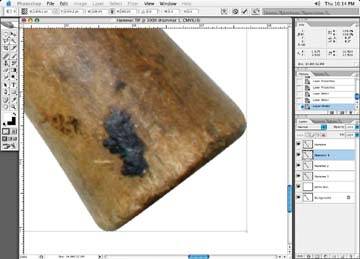
Next, use the Transform tool to rotate each of the hammers. Make sure that you set the pivot point of the rotation to the correct pivot point of the image. The pivot point is the little crosshair that appears in the center of your image when you select the Transform tool. In this case, the center of the hand or wrist position will be the pivot point from which the hammer rotated. Click on the little pivot point crosshair and move it to the hand position.
We will want all hammers to pivot from the same pivot point so they all appear to be the same hammer
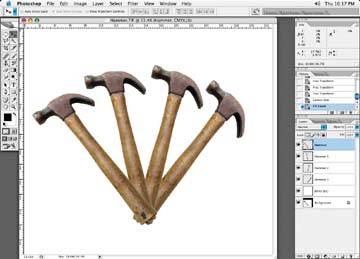
Once the pivot point is established, space out the duplicate images to show a range of motion.
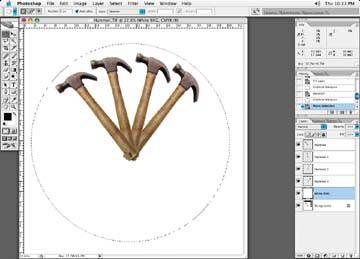
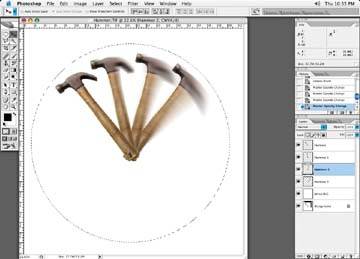
Next, we will go to each duplicate layer and add motion. Since the hammer is swinging in a circular motion, we'll use a radial blur. Make a large circular selection, trying to make your pivot point the center of your circular selection. You may need to adjust the canvas size. Just as our wheel images in the earlier example required an accurate center point, the same is true for these hammer images. You want the center of your spin to originate from the pivot point.
Space out the duplicates to show the range of motion
Call up the Radial Blur dialog box and apply a blur. You may have to try different settings based on the size of the image and the amount of motion you are looking for. Start with a blur amount of 10 or 20, and work your way on from there. Choose Spin as your blur type and the quality of Good. (You may want to choose draft mode if you are experimenting with a very large image to save some processing time. Then, when you see a setting you like, redo the blur in the Good or Best mode.)
Increase your canvas size so that you can create a full circle with the Transform tool
Keep in mind that you will have to repeat the blur for each hammer layer; in this case, you'll have to apply the radial blur to three of the hammers. The hammer to the far left is our final stopped hammer, so a blur isn't required for it. Quite honestly, I usually use the good mode as it is a spin and blurry, and that in itself hides any imperfections and saves you some time over using the best mode. Ultimately, the amount of the blur effect is determined by the size and resolution of the image. A blur amount of 20 on a postcard-sized image may be too much, but on a movie poster, it may not even be all that noticeable.
Once you are happy with the motion and it has been applied, take a History snapshot of the motion you have applied, and then undo the change so that you are back to the original state of the image. Using the History brush, select the appropriate snapshot, and then brush the motion effect to the one side of the hammer in motion. Since the hammer is swinging to the left from the right, add your motion to the right of the hammer. Motion is always added to the opposite side of the direction the object is traveling to. By adding motion to just one side of the object, it will appear as though the hammer is traveling in one direction.
You wouldn't add motion to the front of an object, as it hasn't "been there yet." If you did add motion to the front of an image as well, it would appear to be rocking back and forth.
Repeat this process for all duplicate images. Once that is complete, change the opacity of each duplicate layer. You may want to start off with 25% opacity for the first image, the one farthest from the main image of the hammer, and work your way through the layers progressively. The next layer could be 50%, then 75%, and finally the main image at 100%. Of course, these layer opacity values are only a starting point, and some experimentation may be in order.
Add progressively less blur as the hammer gets closer to the first hammer on the far left to give the impression the hammer is coming to a stop or striking something like a nail
The purpose of the varying opacity percentages is to give the impression that the object is traveling in a set motion range. The lightest layer that is farthest away from the actual hammer is fading away as the hammer travels through its range of motion.