Highlight and shadow layers create shape and help the focal point stand out from the rest of the image
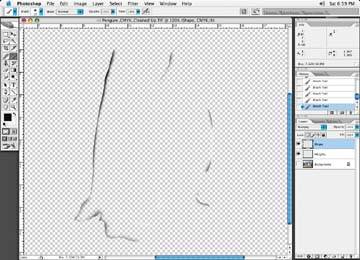
Pay special attention brush you select. You do not want a brush with hard edges and little feathering if the edge of the image element is soft. Take a good look at the rest of the image to determine the correct brush attributes before you start brushing anything in.
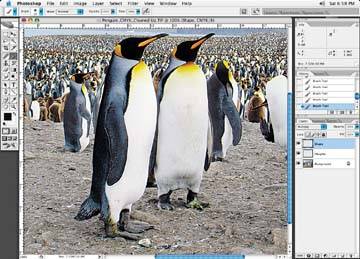
Here is the final look of the image after the highlights and shadows have been added
Let's look at the final results of all of the changes. Use the curve we made in Photoshop earlier based on the information the newspaper sent to test the before and after. Again, don't apply it to the image simply use it as a guide to how the image may look when printed in the newspaper. Figure 8-35 is the original image, and Figure 8-36 uses the Photoshop curve to show what it would look like in the newspaper had we not made adjustments to compensate for paper quality and color.
The compensated image we retouched is shown in Figure.
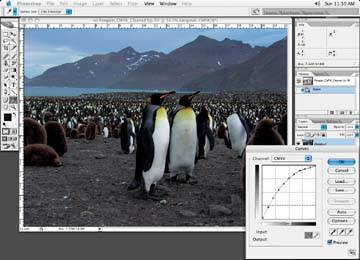
Figure 8-38 shows the Photoshop newspaper curve added to it to simulate how it will print in the newspaper. Notice how it compares to our original supplied image. It looks fairly close to it, doesn't look a bit sharper, though, and a touch brighter. It should print very well in the newspaper.
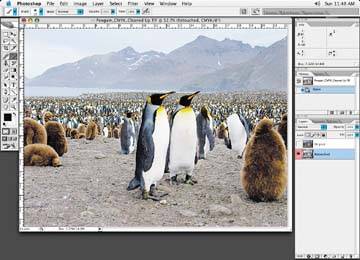
The original image submitted by the client for use in newspapers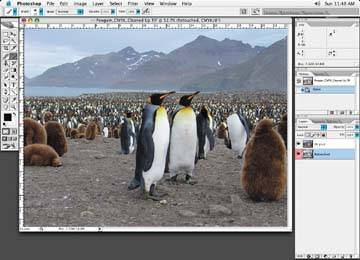
The image with the Photoshop newspaper curve applied, without adjustments
The image after all of our changes discussed here, viewed normally