The Android emulator can emulate one or several Android Virtual Devices. It is a great tool that is bundled with Android Studio. The Android emulator enables you to test your application on a variety of screen sizes, hardware configurations, Android versions, and even different CPU architectures.
MyFirstApp project, (see Creating a new project), is a complete and "ready to run project", so we can move on to building and running the application. Let's see your app in action.
Android Virtual Device Manager (AVD Manager)
It is preferable to create a few AVDs with different API levels and hardware configurations so that your application can be tested on different versions of the Android OS. It is very easy to create a new Android virtual device. To open the AVD Manager, click the  AVD Manager button on Toolbar or choose
 Tools > Android > AVD Manager from the main menu.

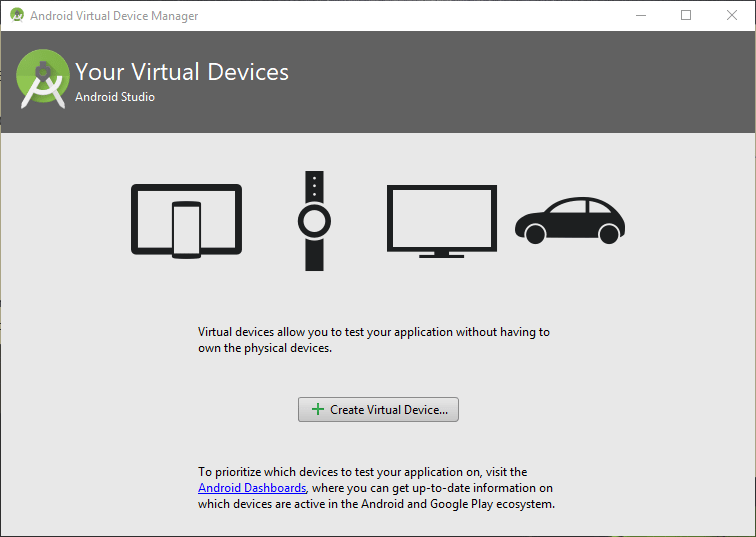
Because you haven't created a virtual device before, AVD Manager is currently empty. Click the Create Virtual Device button to start Virtual Device Configuration wizard:
A list of available devices appears choose a device profile to use as a starting point for your AVD. Select Nexus S (you can choose any device to create a virtual device).
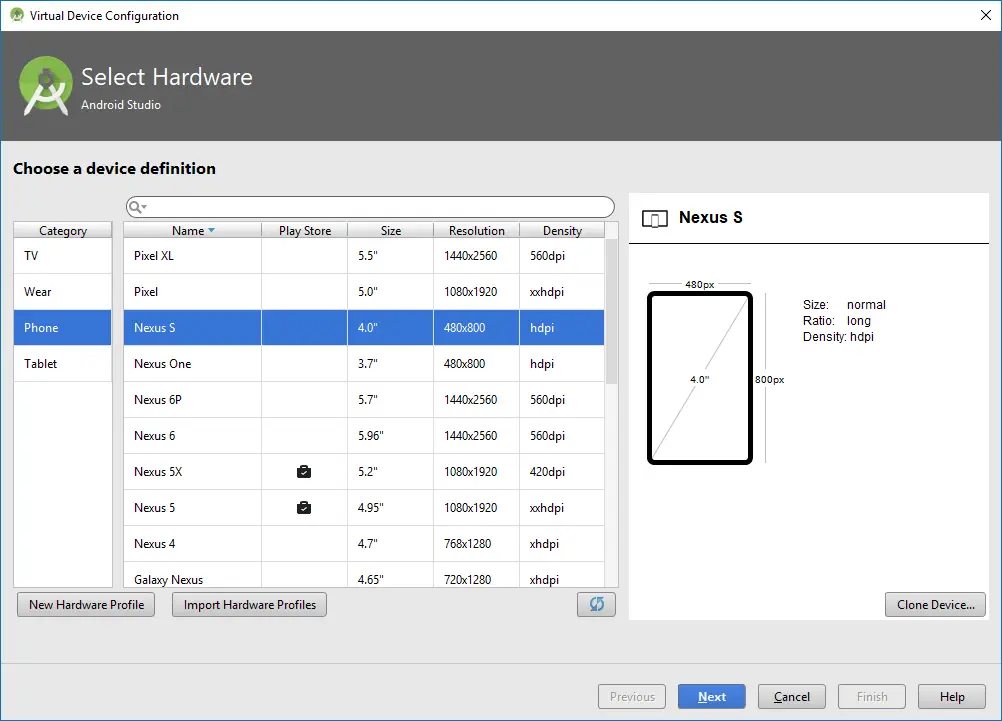
The Category allows you to select type of device you want to create: TV, Phone, Wear, or Tablet. The New Hardware Profile button allows you to create your own device for testing purposes. Creating your own device profile might be a good idea for testing devices that you don't have access to. The Clone Device button allows you to modify any device profile from the list.
Clicking Next allows you to choose an emulator image to use:

The recommended targets vary to different hardware profiles. For example, for Nexus S, the recommended targets start from Android 5.1 and for Nexus 5 the recommended targets start from Android 7.0. You're free to choose anything from API Level 16 (Android 4.1) on up.
What is ABI
The Application Binary Interface (ABI) defines how the machine code for your app will run on your CPU.Note:
The Android Studio will automatically list the recommended system images based on your Hardware profile selection. If you wish to select a different system image other than recommended, select x86 images tab if your PC is using the Intel CPU, for non-Intel based CPUs you should select Other Images tab.
If you see a Download link next to your selected image then you've to download it to create AVD for that particular API level and CPU architecture combination. After another license dialog and progress dialog: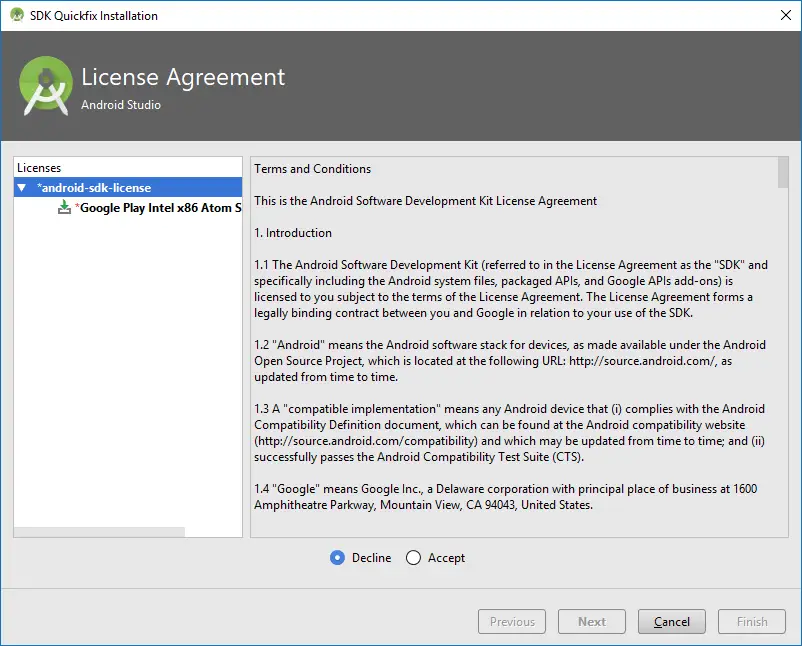
Once you have downloaded the image that you want, click on one of them in the wizard. Clicking Next allows you to finalize the configuration of your AVD. A default name for the AVD is suggested, though you are welcome to replace this with your own value. I didn't change the defaults, these values should be fine for now:
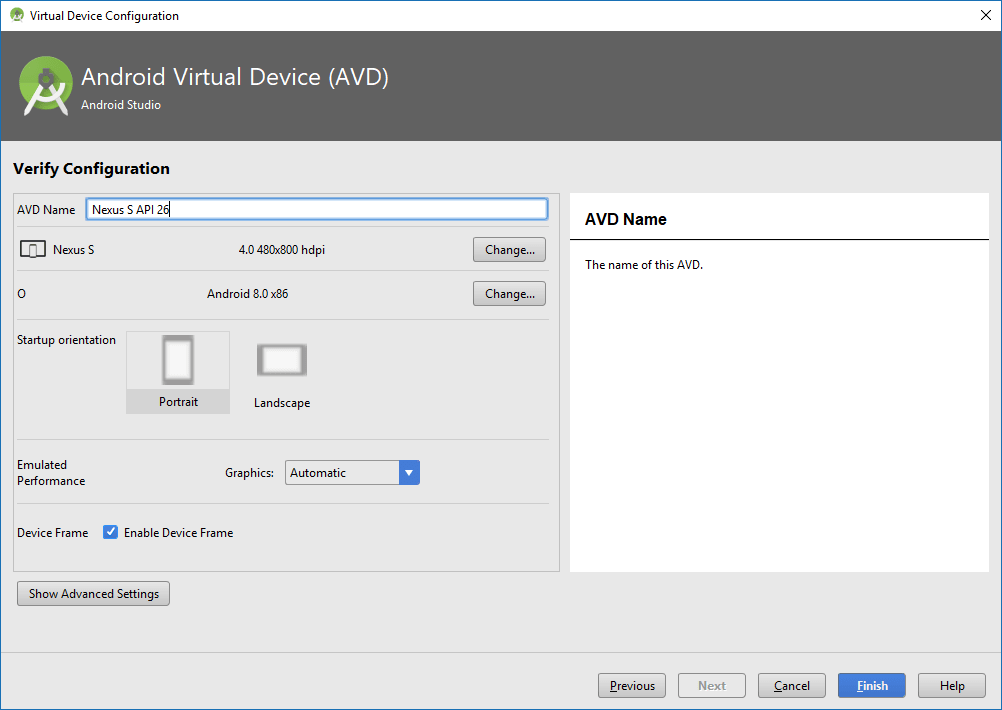
After clicking Finish, the AVD is created and shown in the AVD Manager. You can now try your Android apps on this AVD.
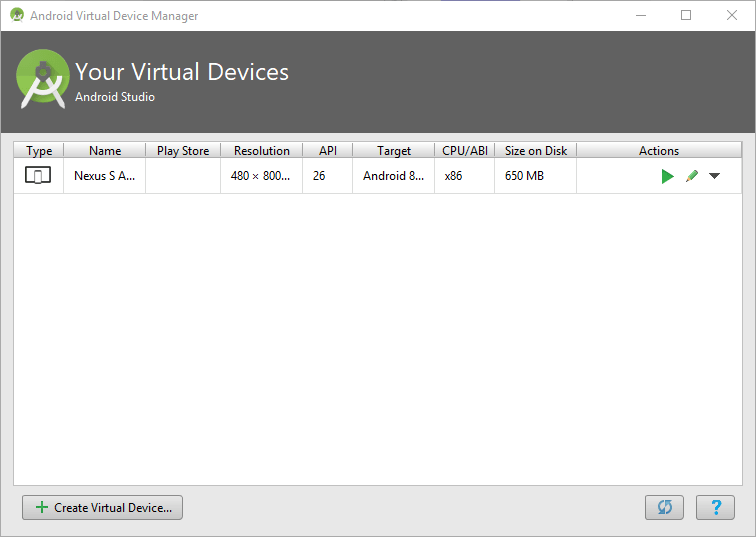
You have installed your AVD, now close the AVD Manager window, click on the  Play icon from the toolbar, and test your application.
Run your app on a real Android device
A physical device can be very useful for quickly testing changes in the functionality of an app. A real device is faster than virtual devices and also allow you to test apps in realworld situations.
The first step is to put your Android device (Phone or Tablet, for example) in the USB debugging mode. This can be done by navigating to
Settings, tapping onDeveloper options, and then enabling theUSB debugging.The Developer options on Jelly Bean 4.2 or higher are hidden by default. The purpose for this is very likely to make it only available to advanced users and not to normal users. To activate or un-hide
Developer optionstap theAbout phone(or "About"), tap on the build number seven times. Go back to theSettingsand go into the Developer options.Connect your Android device to the USB port of your system (e.g. Laptop or PC).
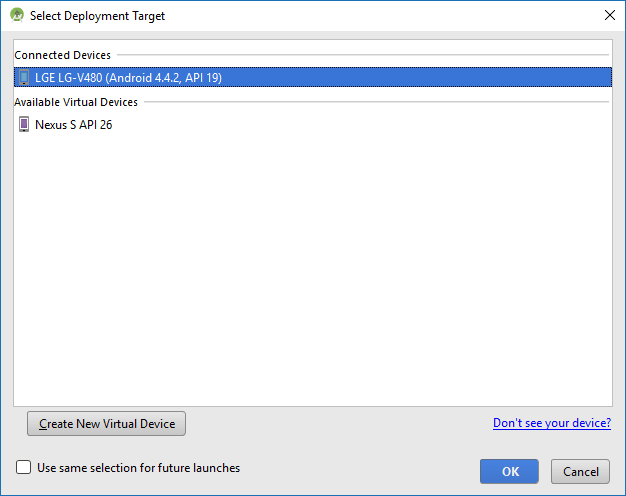
Click on the
Play icon from the toolbar.Click on your device when the
Select Deployment Targetwindow appears.Your device will appear under the
Connected Devicespane, select it and click onOKbutton to run the app on your chosen device.
My device is not detecting by Android Studio
Installing device drivers will resolve your issue. When using a physical device for Android development, you need to install its device drivers on your PC. Usually Windows 10 download and install these drivers automatically for you. For some devices you've to visit the device manufacturer's website to obtain and install these drivers. The latest Android devices don't need any drivers at all.