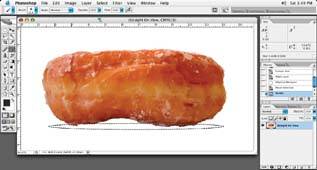
Once the object is isolated, the next step is to properly set your paintbrush. You'll want to set up your paintbrush tool to match the perspective of the object for which you are creating the shadow. For instance, if the object is a straight-on side view, like the donut in Figure 2-14, you'll want the brush to be very slim and narrow.
Figure 2-14. The brush set to a straight-on side view perspective
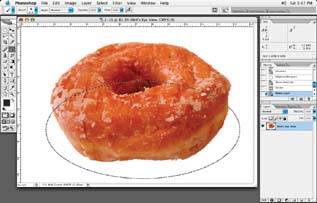
If the object is seen in a bird's eye view, as in Figure 2-15, the brush should be wider.
Figure 2-15. The brush set for a bird's eye view
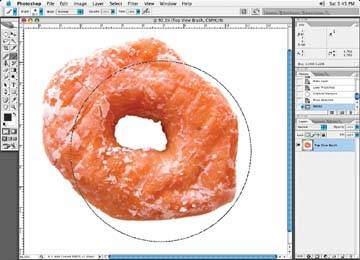
If the object is shot from the top, you'll want the brush to be round, as in Figure 2-16.
Figure 2-16. The brush set for a top view
Once I choose the brush for the proper perspective, it is very rare that I will change my brush rotation to anything other than perfectly horizontal. I rarely ever rotate my brush when I brush in a shadow. I have found that if you turn the brush at all, the shadow does not work out.
When I use a mouse for creating shadows, I set the brush attributes to the softest edges and the pressure opacity to about 20%. If you are using a pen and tablet, you have control over the pressure as you go.