If the image is unacceptable once resized and no retouching has been done, drop the image into the new canvas you created; in the case of Figure 7-6, use the billboard image created earlier. Again, if you have problems making the image full size, try to create the biggest size you can within your limitations.
Resolution on Demand
One other option you may want to look at for scaling images up
is a program from Genuine Fractals (www.lizardtech.com/solutions/gf/).
Some people swear by the ability of this program to scale images up
with little degradation. Their web site claims they can "output any
file size from a single encoded file, up to 600% without image
degradation." It is reasonably priced and may be worth a look.
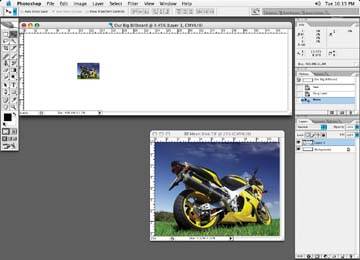
Figure 7-6. Motorcycle image dropped into billboard canvas at original size (pretty small, eh?)
Remember to add an extra amount of canvas for bleed. Bleed on an image is basically the extra portion of the image that extends around the perimeter of an image or ad. When an image or ad is printed and the image prints to the edge of the paper or page, an extra amount of image is needed so that when the paper is trimmed to the printed size, there is image or bleed there in case the trim process is slightly off. If the image were supplied with no bleed and the trimmer cut the paper outside of your image, a small amount of the white paper will be seen on the edge of the advertisement or printed material where the trimmer or cutter was off. In our case here, the billboard specs include the bleed.
Using the Client's Image as a Position File
If supplied, use the client's file as a position file to build the image composition. Unless you are the one doing the complete design of the billboard, the client (or ad agency or design house) will supply you with a Quark file of the billboard layout. As discussed in Merging Images, you can go into Quark and save the file as an EPS. Call that EPS file into Photoshop and use the file as your position file.
In the case of this motorcycle billboard, we'll be attempting to make the image look better at a large magnification, so I'll concentrate on that in this tutorial.
Use the Transform » Scale tool, as shown in Figure 7-7, to manipulate the image until you have the image in the correct position and size.
Figure 7-7. Image resized to fill the billboard (wow, 1344%!)
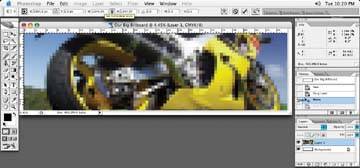
Looks pixilated at this point, but once we accept the transformation, the image will look like Figure 7-8.
Figure 7-8. This illustration shows just how much of the image is extending beyond your canvas
If you find the image size is getting too large, keep in mind that at this point, the image you just pasted, repositioned, and enlarged is extending well beyond your canvas size, and Photoshop knows that there is much more image available than what you see. You can drag the image around in your canvas, as in Figure 7-9, to see that the image has not been lost just because you scaled it up beyond the canvas size.
Figure 7-9. Moving the image around displays the portions of the image that are hidden
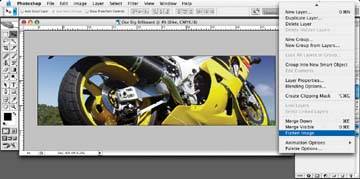
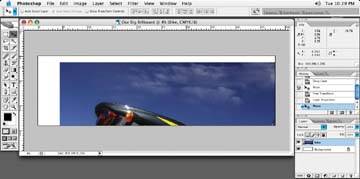
If you are pushed for size, you can reduce the size of your file by cropping the image (with the Crop tool) or flattening the file at this point. Make sure that if you use the Crop tool, you don't crop into the live area of your image. I usually flatten the file, as I've done in Figure 7-10. Remember that once you crop, you lose the ability to move the image around. When building large files though, proper positioning should have been determined well before you have gotten to this stage!
Figure 7-10. I have chosen to flatten the file at this point