Previous example? Simple. But this is assuming, of course, that the background lends itself well to this kind of stretching. If you have a cobblestone road or a row of bricks, then it will look quite odd if you simply stretched the background. One way to extend difficult backgrounds is to do it the old-fashioned way and clone the background, but in the case of our next example, a row of bricks, the perspective makes it very difficult to simply clone.
Figure 4-43. The sky is stretched to fill the needed white area
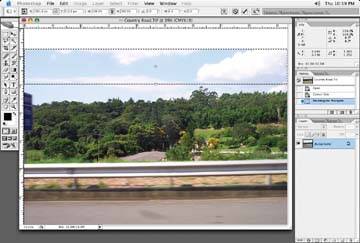
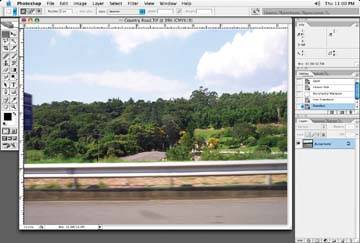
Figure 4-44. The background is easily extended
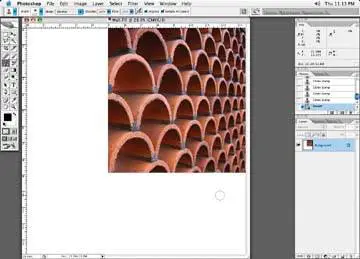
Let's say we have the image in Figure 4-45 and we want to extend the row of bricks to fill the white space indicated.
Figure 4-45. The area indicated by the white space needs to be filled with bricks
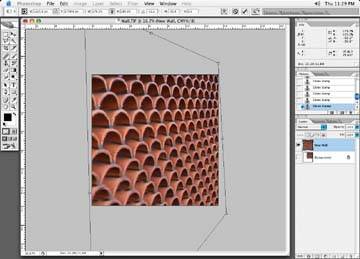
The first step is to adjust the bricks so they look like a nice, straight row of bricks. Select the bricks and use the Distort function of the Transform tool to adjust the bricks until they are straight, as in Figure 4-46. You may want to put in some guidelines to help you make sure they are straight.
Then, start cloning the bricks to fill the area, as shown in Figure 4-47.
When you are done cloning, distort the bricks back to the original shape, as shown in Figure 4-48.
The idea is to continue the flow of the lines as they had started in the original image. You can draw guidelines on a layer if you find that will help you, but I align the perspective visually. As the road gets closer to you, the bricks or stones become larger, and as they get farther away, they appear smaller. You can see the final result in Figure 4-49.
Figure 4-46. Select the Transform tool to change the perspective
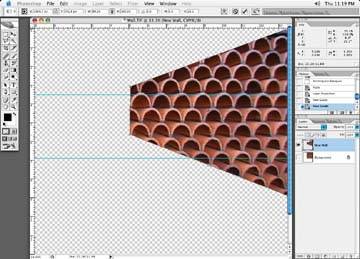
Figure 4-47. Clone the bricks to fill the area
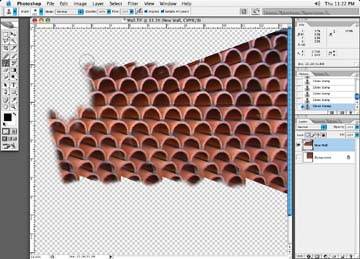
Figure 4-48. Distort the bricks back to the original shape